Tires, Wheels, and rear disk parts
First order of business was to mount up two of the new tires and rims. This way I can roll the front axle around and free up two of my jackstands. Here's one of the tires mounted with to the front axle and the front axle mounted to the frame. I also mounted a fender to see how the spring flip and shackle reversal puts the tire in the wheel well.
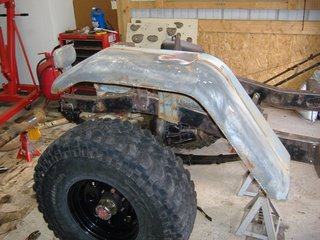 I should loose some height, 2" or so when I install the motor and body. Looks good to me!
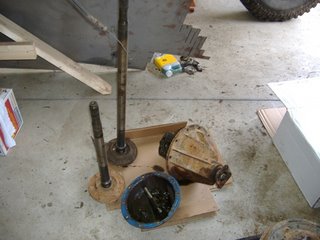
I also disassembled the rear axle and gathered the needed parts for the rear disk brake conversion. Here's the housing with everything pulled apart. I'll clean it up and weld on the new brackets for the SOA and the rear disks. In the second picture is the internals. Those axle shafts are beefier than the 31 spline shafts in my 9" on my jeep. Nice!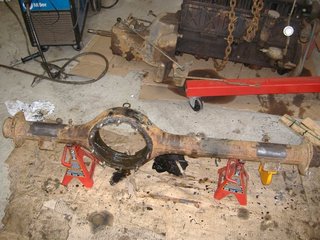
 Finally, here are the components for the rear disk swap. From left to right, we have The AA Manufacturing Metric Chevy Caliper brackets, ($8.99 ea), the Rebuilt Metric Chevy Calipers (20.99 ea including core charge), Pads ($12.99 for both wheels) and 1/2 ton Chevy 4x4 truck rotors ($23 ea). My buddy Carl opened up the center hole in the rotors to fit over the centers of the Land Cruiser Axleshafts.
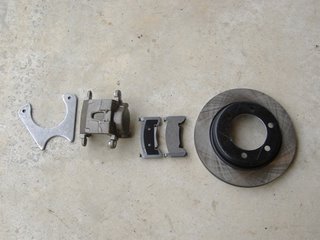
This overall conversion will cost less than rebuilding the stock drums and should work much better. The other cool thing about keeping the stock transfercase is that the rear driveshaft mounted Emergency Brake keeps me from having to worry about an E brake on the wheels. Stay tuned for the rear axle cleaning, painting, and assembly....
posted by Tim and Lydia at 12:13 PM
34 comments
![]()
 Rather than use the mini truck calipers and rotors, I did the upgrade to the 81 FJ40 vented rotors and the '86 Truck IFS calipers. These pieces aren't any more expensive than the mini truck stuff, and they should work better with less fade.
  I used the cut off portion of the driver's side toyota arm to see how welding the forged steering arms was. I welded a piece of 1/4" plate to the piece of steering arm, and then "tested" it with a sledge hammer. I couldn't get the weld to budge or crack, so this should be plenty strong. The web between the two arms is also 1/4" steel. In the future I'd like to go to crossover steering, but this will keep the project rolling for less $$.
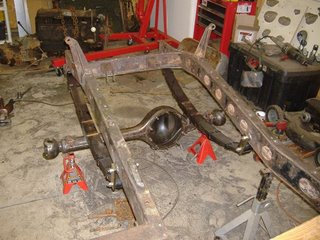
 Next, I set the pinion angle to point at the approximate location of the Tcase output and set the perches at this angle. Finally, With the axle bolted in and the weight on it, I set the Caster Angle to 5 degrees. Here's the axle all welded up in its new configuration. Those spring perches are Dodge D60 spring perches. Big O Dodge here in Greenville lists them at $8 a pair.
  While I had the axle out, I decided to beef up the ring gear area of the diff cover, so I welded on a strap of 3/16 steel to cover this area. With the turned up pinion this area will be more vulnerable than in the stock configuration.
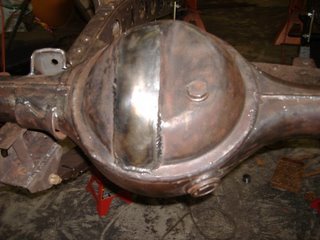
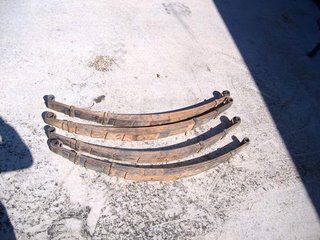 I'll clean and paint these, and then install new bushings before I use them. Also I went ahead and cut off the spring and shackle mounts from the front end and re-welded the spring mounts to the front of the frame.
 I'll probbably get the frame cleaned and ready for primer and paint this week. That's all for now...